4 Ways to Capture An Overhead Photo (Flatlay) Like A Pro

Have you ever come across an image like the one above and wondered, ‘How the heck did they take that photo?” The overhead photo (or flatlay) is a very popular one amongst photographers, so we thought we’d share 4 different tips to help you capture an overhead photo. These tips will come in handy if you’re taking part in our 30-day flatlay challenge!
1. Tripod

The most obvious way to achieve an overhead shot is by using a tripod, but not just any tripod. It’s best to use a tripod that has the capability of rotating horizontally so that you can mount your camera directly above the object(s) to be photographed. If you’re already in possession of a standard tripod, you can simply purchase a horizontal mount extension to attach to your iPod. If you’re using a phone camera, there are tripod attachments for mounting phones as well!
Here are a few benefits of using a tripod for an overhead shot:
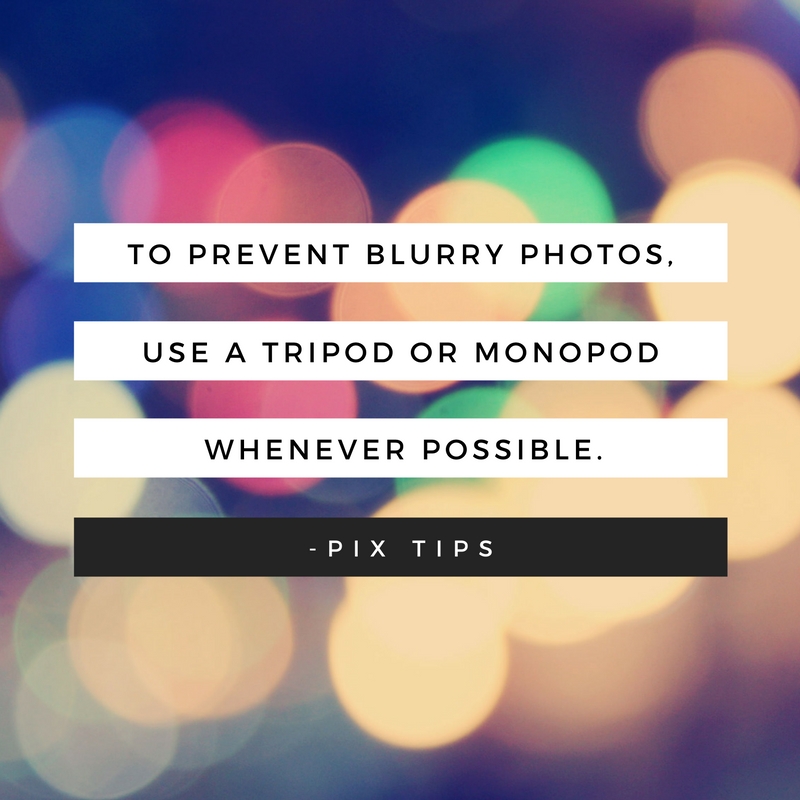
It helps to reduce “camera shake” (and subsequently blurry photos), that can occur when you’re holding your camera. You have the freedom to move props around freely without having to worry about positioning and repositioning your camera. You can literally set it up and forget it! Lastly, it’s one of the easiest ways to get a sharp, overhead photo.
2. Yourself

Believe it or not, you’re already in possession of an effective tool for capturing overhead photos: your arm! Yes, you heard right, your arm.
We understand that not everyone has the funds to purchase a tripod, nor do they have a significant other willing to help with snapping photos (rude, right!). In these instances, you’ve gotta make due with what you have. And if you have an arm, you can pull it off.
Here’s how it works:
Set up your props. Hop in bed. Grab your cell phone. Throw your arm in the air (and wave it around like ya just don’t care!). Hold your phone with back camera facing down and then snap the photo. This method may take a few tries to get a photo that is sharp, centered and has everything in frame, but we promise you it works!
3. Ceiling
This third trip requires the most amount of effort and creativity. Ready for it?
One of the drawbacks of using your arm is that it can only go up so far (unless you’re Elasti Girl from The Incredibles). In this case, you can take your phone and tape it to the ceiling, right above the area you wish to photograph. Similar to using a tripod, this method reduces camera shake and allows you to move things around without having to worry about the camera.
Here’s how it works:
You’ll need to find some sturdy tape to attach your phone to the wall. Once it’s up there, you can set your props up on your bed just the way you like them, remember to leave some space for yourself. After that, simply hop into bed, reposition the props around you (if necessary). Then you’re free to snap away (with the assistance of a remote)!
Now, you’re probably wondering how the heck are you supposed to snap the photo if your phone is sitting on the ceiling! Valid concern. We recommend purchasing a remote and pairing it with your iPhone so that you can trigger your phone to snap a picture without touching it.
4. A Friend
One of the easier ways to pull off the overhead shot is to use a second person. This option also gives you the freedom to style your shot as you please, without having to worry about the camera.
Will you be trying any of these methods? Let us know in the comments below or over in the PIX Tips Facebook group! If you have any additional tips to share, be sure to drop them down below!